
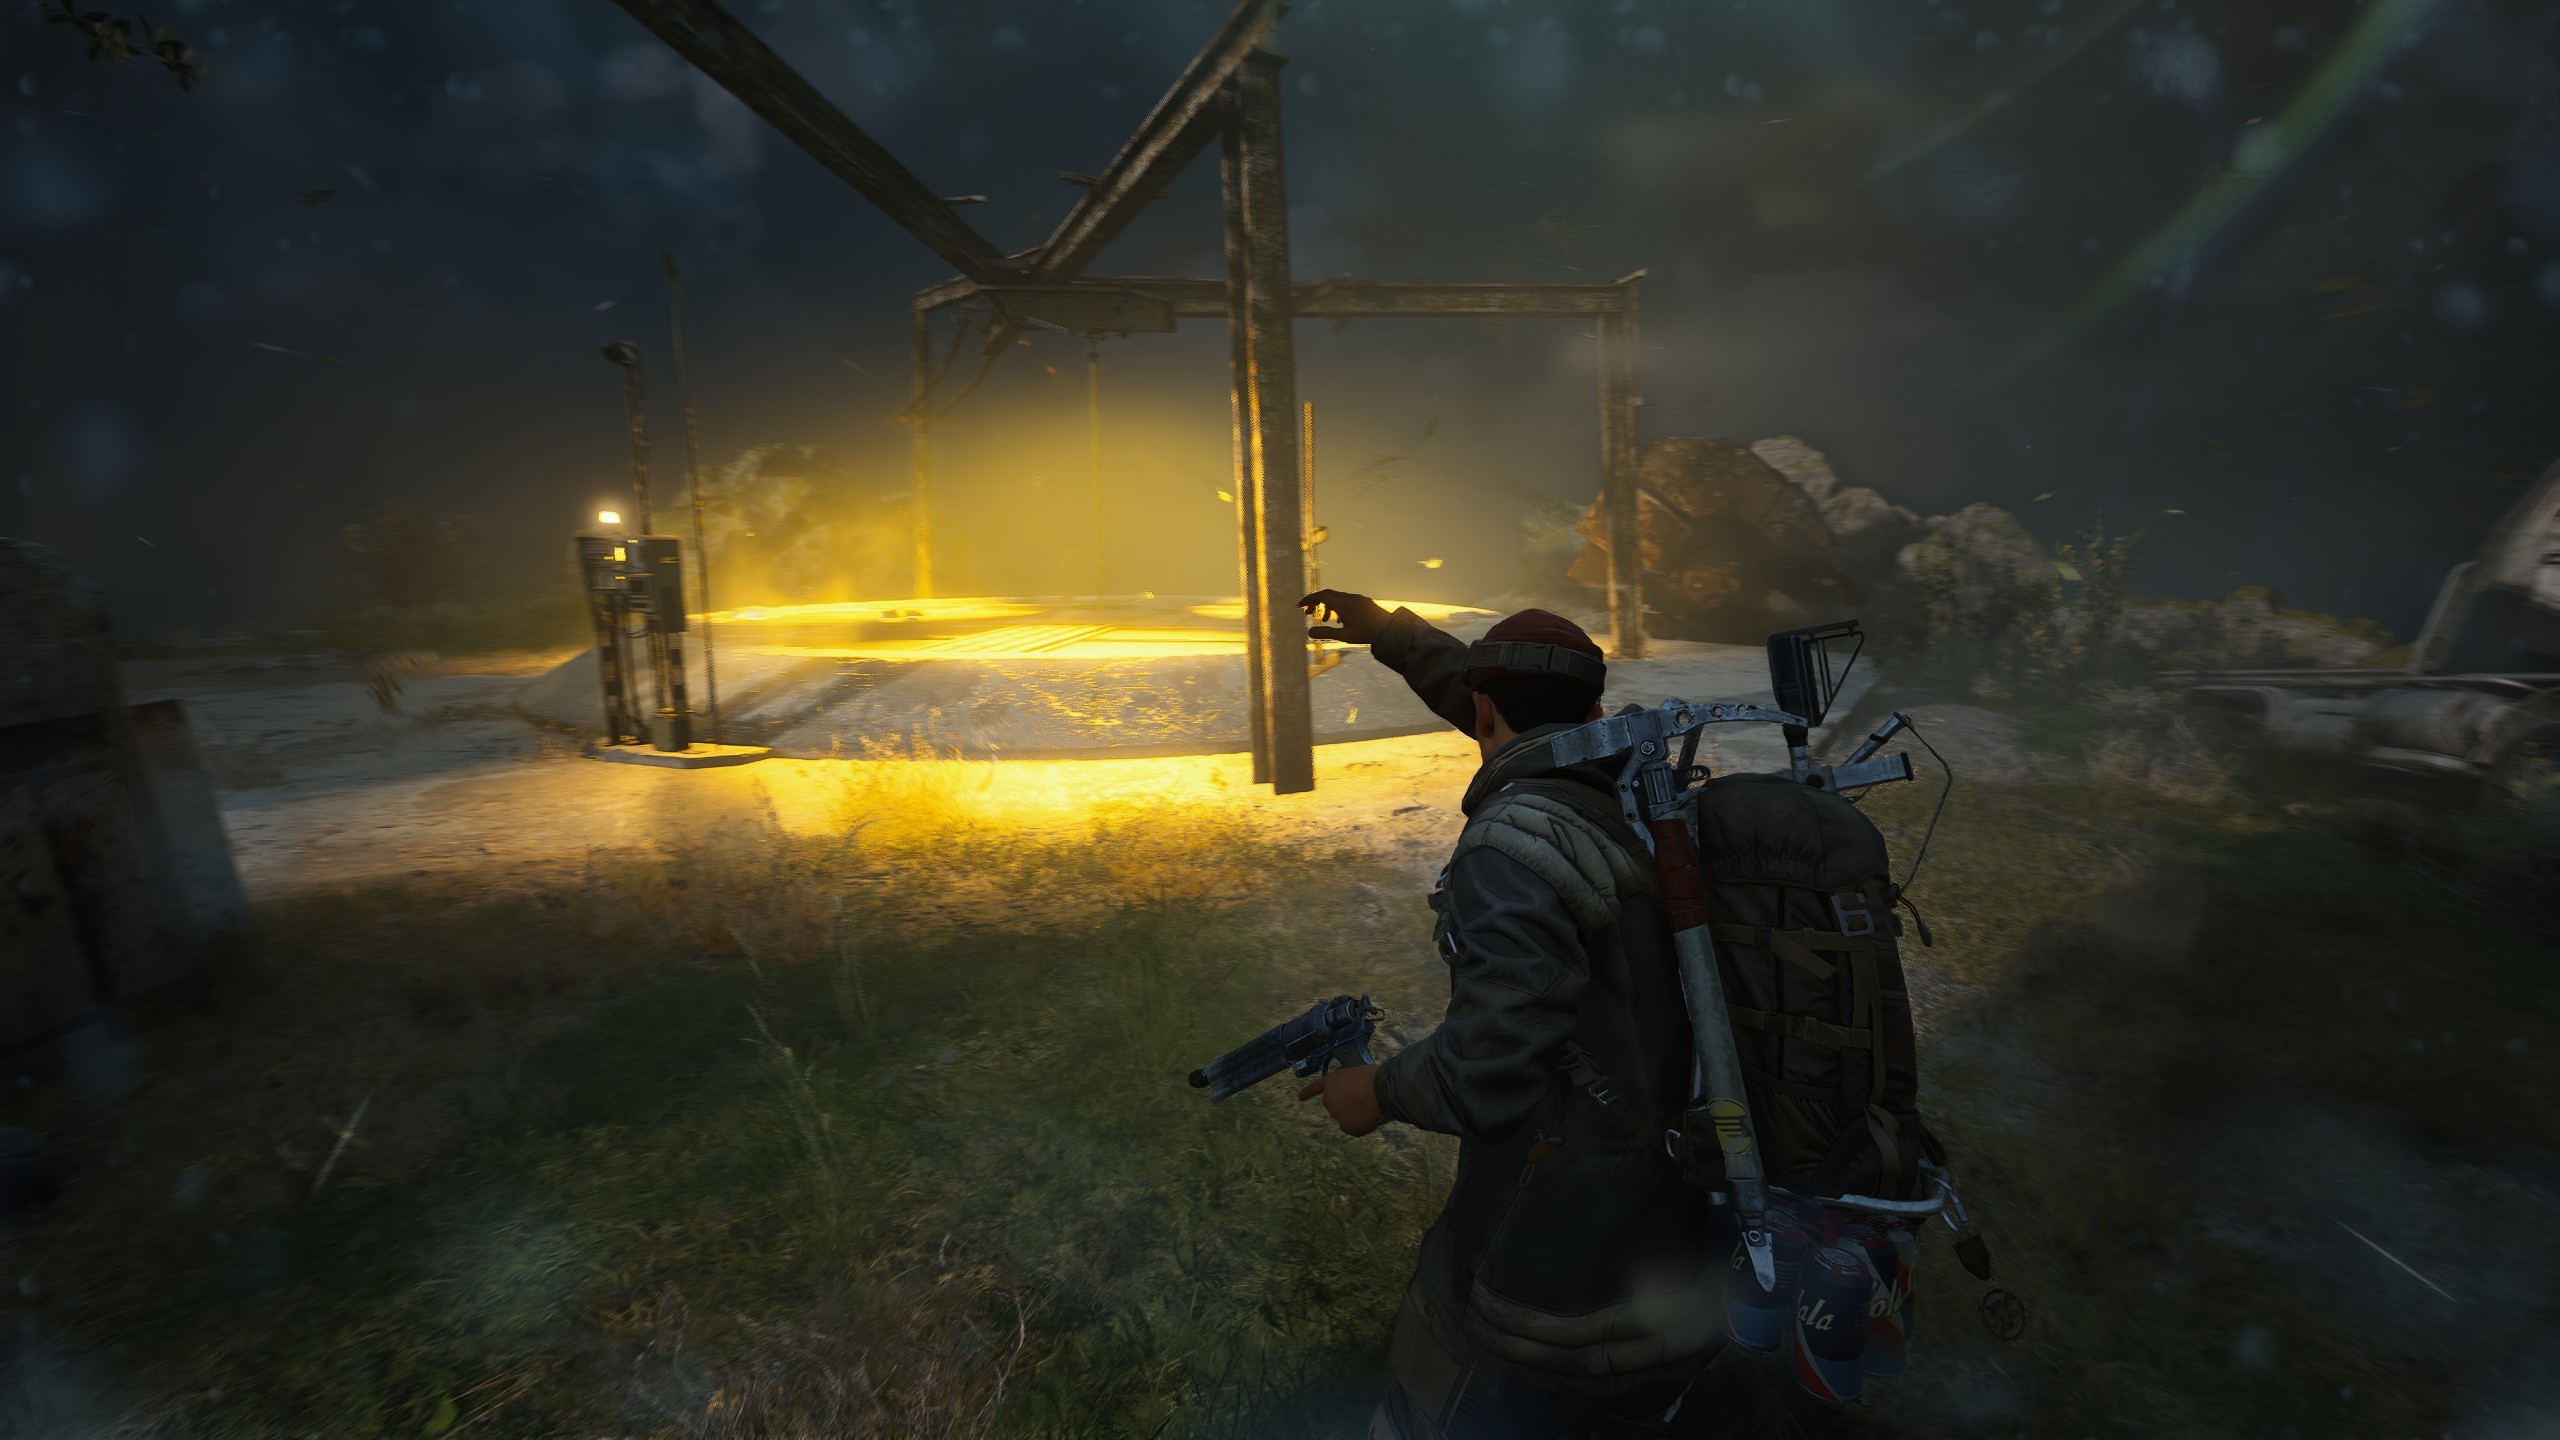
Successfully resetting after a fight in Arc Raiders is a distinct tactical progression path, often overlooked but critical for sustained survival and continued success. It emphasizes immediate threat assessment, efficient resource management, and strategic positioning to stabilize your situation before the next encounter. For players aiming to minimize downtime, maximize healing effectiveness, and avoid being caught vulnerable, mastering the art of the post-fight reset forms a reliable and repeatable framework for maintaining combat readiness in the Exclusion Zone.
This guide examines how to approach the reset phase efficiently, focusing on immediate actions after an engagement, optimal healing timing, securing safe angles, and integrating these practices into a routine that consistently prepares you for subsequent threats and ensures you don’t fall victim to immediate follow-up attacks.
Understanding the Vulnerability After an Engagement
Winning a fight in Arc Raiders is only half the battle. The moments immediately following an engagement are often your most vulnerable. You might be low on health, have depleted armor, need to reload, or have attracted attention from other enemies (AI or players). Failing to “reset” effectively can lead to being quickly eliminated by a third party or the next wave of AI. This phase is a deterministic process that rewards disciplined action and efficient resource management.
The structure of an effective post-fight reset encourages efficiency through precise, rapid actions. Mastery is achieved by minimizing exposed time, maximizing resource recovery, and executing swift repositioning, turning a moment of vulnerability into a period of renewed strength.
Immediate Actions: Secure and Assess
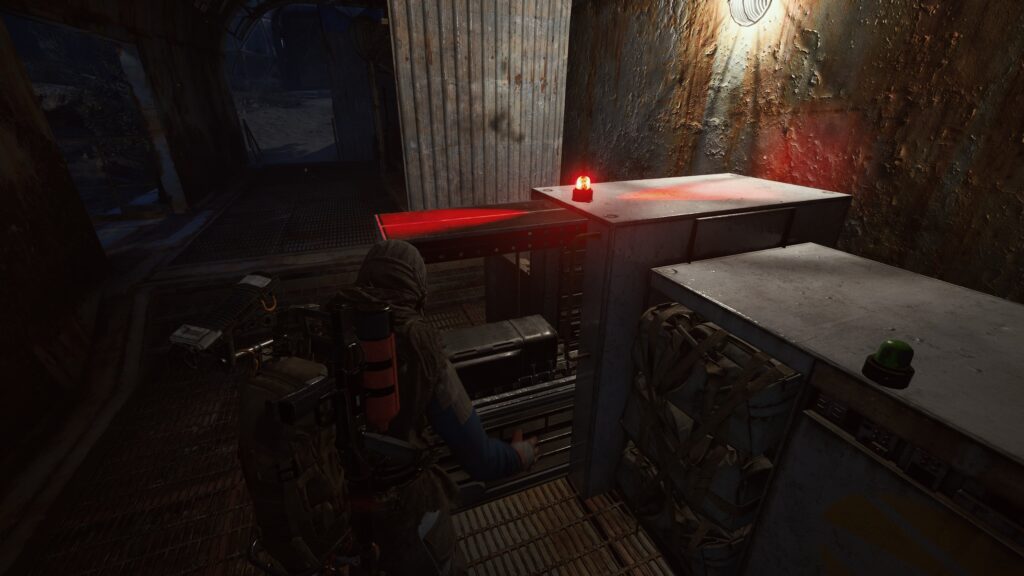
The very first seconds after a fight are crucial. Your priority should be securing your immediate vicinity and quickly assessing the situation.
- Secure the Area: Before doing anything else, ensure the immediate area is clear of all threats. Scan all angles, listen for lingering sound cues, and confirm no more enemies are pushing your position. If in a squad, your teammates should help clear and provide cover.
- Prioritize Threat Eliminated: Confirm the primary threat that you just engaged is fully eliminated. No lingering low-health enemies or overlooked flanking units.
- Find Hard Cover: Immediately move to the nearest piece of hard, impenetrable cover. Do not stand in the open to loot or heal. Cover is your first line of defense during a reset.
- Quick Resource Check: While moving to cover, mentally note your current health, armor status, and primary weapon ammo count. This informs your next immediate actions.
- Purpose: To transition from active combat to a safe, controlled environment where recovery can begin, mitigating the risk of immediate follow-up attacks.
Optimal Healing Timing: Maximize Recovery, Minimize Exposure
Healing is a critical component of the reset, but the timing is everything. Healing in the open or at the wrong moment can make you an easy target.
- In Cover, Always: Never initiate healing or armor repair unless you are behind solid, hard cover that completely breaks line of sight from all likely enemy angles.
- Assess Damage First: Determine the extent of your damage. Do you need a small medkit, a large medkit, or just armor plates? Prioritize armor if you’re about to be pushed again, as it’s often quicker to apply.
- “Pre-Heal” if Anticipating Damage: If you expect to take more damage soon (e.g., crossing a dangerous area, pushing an objective), apply armor or a small heal proactively to increase your survivability threshold.
- Squad Healing (if applicable): In a team, coordinate healing. One person heals while the others provide cover and watch for threats. Designated medics should prioritize downed teammates first.
- Looting vs. Healing: Healing takes precedence over looting, especially if you’re significantly damaged. A dead raider can’t enjoy their loot.
- Purpose: To efficiently restore your health and armor to optimal levels, ensuring you are prepared to sustain another engagement without being immediately vulnerable.
Securing Safe Angles: Maintaining Situational Awareness
While healing, your mental focus should still be on securing your surroundings. Safe angles are about predicting where the next threat might come from and positioning yourself to counter it.
- Anticipate New Threats: Even after clearing an area, assume new AI patrols or player teams might be drawn to the sounds of your previous fight. Scan common approach routes while healing.
- Team Overlapping Fields of Fire: If in a squad, ensure each member covers a different angle during the reset. One watches the front, another the flanks, and a third the rear. This creates an impenetrable defensive perimeter.
- Utilize High Ground/Cover: If your cover allows, slightly reposition to gain a better vantage point of likely enemy approaches after you finish healing. This allows you to spot threats before they spot you.
- Sound Cues: Actively listen for any new sound cues during your reset. Distant gunfire, footsteps, or AI chatter can signal an approaching threat, prompting you to cut short your reset if necessary.
- Purpose: To prevent being surprised by follow-up attacks during your vulnerable recovery period, maintaining a proactive stance even when recovering.
Beyond Healing: Ammo and Utility Restock
A full reset isn’t just about health; it’s about being fully combat-ready for the next fight.
- Reload All Weapons: As soon as it’s safe, reload all your weapons, not just the one you were using. You don’t want to switch to an empty secondary mid-fight.
- Replenish Utility: Check your grenades, consumables, and special abilities. If possible, quickly resupply from enemy drops or nearby caches. Prioritize essential items like more healing or crucial explosives.
- Loot Discipline: Once your health, armor, ammo, and utility are squared away, then you can cautiously proceed to loot the bodies or containers from the recent engagement.
- Purpose: To ensure all aspects of your combat readiness are restored, eliminating any resource-based weaknesses before the next inevitable confrontation.
Conclusion: Resetting as the Key to Sustained Dominance
Mastering the post-fight reset in Arc Raiders rewards consistency, disciplined execution, and a proactive mindset towards survival. By immediately securing the area, timing your healing perfectly from safe angles, and thoroughly restocking your resources, players can dramatically enhance their ability to endure multiple engagements and maintain constant pressure on the Exclusion Zone.
When integrated into your gameplay, the effective reset becomes less of a pause and more of a strategic maneuver. It transforms moments of vulnerability into periods of renewed strength, ensuring you are always ready for the next threat, preventing instant deletion, and allowing you to consistently dominate in Arc Raiders by always being prepared for what comes next.
Leave a Reply